Creating a saddle stitched booklet demands meticulous attention and strategic planning. By sidestepping common layout blunders, you can guarantee a polished and flawless outcome. It’s vital to focus on the finer details to produce a superior saddle stitched booklet. Ensuring ‘print ready files’ before uploading can help avoid common mistakes and ensure a polished outcome. Grasping the fundamentals of Discover common pitfalls of cheap saddle stitched booklet printing and learn how to avoid them. Get top-quality results without breaking the bank in Australia. and the intricacies of printed page assembly is crucial. Ensuring optimal page counts and preventing pagination mishaps is essential for a smooth reading experience. Selecting the appropriate paper stock and considering margins and binding allowances are critical factors.
In the realm of Cheap Saddle Stitched Booklet Printing, it’s imperative to avoid common pitfalls to achieve a refined and professional appearance. From selecting the correct paper type and page count to sidestepping layout errors, meticulous attention to detail is paramount. This attention can significantly enhance your saddle stitched booklets.
Understanding Saddle Stitched Booklets
Saddle stitch booklets are a binding method that has been a favourite for many print projects. It involves folding paper in half and stapling along the spine. This technique is both versatile and economical, making it ideal for businesses and organisations in Australia.
What is Saddle Stitching?
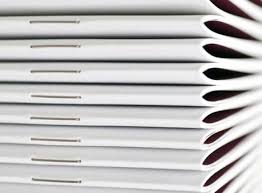
Saddle stitching folds pages in half and staples them along the spine. It’s perfect for booklets or magazines with 8 to 80 pages. This method offers a professional yet affordable way to bind print booklets.
Benefits of Cheap Saddle Stitched Booklet Printing
- Cost-effective: Saddle stitch booklets are one of the most economical binding options, making them a popular choice for smaller print runs and budget-conscious projects.
- Versatile: Saddle stitched booklets can accommodate a wide range of page counts, from 8 to 76 pages, allowing for flexibility in print projects.
- Compact and lightweight: Saddle stitched booklets are generally lighter and more compact than other binding options, leading to lower shipping and distribution costs.
- Fast turnaround: The saddle stitching process is relatively simple, allowing for faster production times compared to other binding methods.
- Professional appearance: Saddle stitched booklets lie flat when open, making them easier for readers to view and access the content, resulting in a polished and professional look.
Saddle stitch booklets are a cost-effective and efficient binding method. It’s well-suited for a wide range of print projects, from small booklets and brochures to larger catalogues and magazines.
Designing for Saddle Stitched Booklets
When designing for saddle stitched booklets, it’s essential to consider the binding method and how it will affect the final product. Saddle stitching involves stapling the pages together along the spine, which can cause the inner pages to shift slightly. To ensure a professional finish, follow these design tips:
- Clear and Concise Layout: Avoid clutter and ensure easy reading by using a clear and concise layout. This helps in maintaining a clean and professional look.
- Readable Fonts: Choose a font that is easy to read and suitable for the content. This ensures that your message is conveyed effectively.
- High-Quality Images and Graphics: Use high-quality images and graphics to enhance the visual appeal of the booklet. This adds to the overall professionalism of the booklet.
- Paper Stock and Finish: Consider the paper stock and finish when designing the booklet. For instance, uncoated paper can give a more natural and earthy feel to the booklet, which might be suitable for certain types of content.
By paying attention to these design elements, you can create saddle stitched booklets that are both visually appealing and functional.
Booklet Printing Artwork Guide
To ensure that your booklet printing artwork is print-ready, follow these guidelines:
- Resolution: Use a resolution of at least 300 dpi for all images and graphics. This ensures that the printed images are sharp and clear.
- Fonts: Ensure that all fonts are embedded or outlined to avoid any font issues during printing. This prevents any unexpected font substitutions.
- Color Mode: Use CMYK color mode to ensure accurate color representation. This is the standard color mode for printing.
- Bleed: Include a 3mm bleed on all edges to allow for trimming and folding. This ensures that there are no white edges on the final printed booklet.
- File Naming: Use a clear and concise file naming convention to avoid confusion during printing. This helps in organizing and identifying the files easily.
Following these guidelines will help in producing high-quality booklet printing that meets professional standards.
Page Layout Considerations

Designing a saddle stitched booklet requires understanding the significance of multiples of 4 in page layout. Each folded sheet creates four pages, ensuring proper alignment and avoiding blank or missing pages. Page creep, a common issue, occurs in high-page-count books. It causes the innermost pages to shift towards the spine, pushing the outer pages outward. To combat this, adjustments in layout, like extra margin space near the spine, are crucial.
Additionally, it is important to design both the back cover and front cover to ensure a cohesive and professional look.
The Importance of Multiples of 4
The Rule of Four states that the total page count must be in multiples of four (e.g., 16, 32, 48 pages), plus an additional four for the cover sheet. This rule ensures each folded sheet contributes to four pages, maintaining alignment and preventing blank or missing pages.
By following the Rule of Four, you can achieve an extensive range of page layout options, allowing for greater flexibility and creativity in your booklet design.
Avoiding Pagination Errors
Pagination errors, like missing or duplicate pages, are common in saddle stitched booklets. To prevent these, it’s vital to plan the page layout carefully and ensure the total page count is a multiple of four. Proofreading the final files and checking printed copies can also help identify and fix any pagination issues before production.
Insufficient Bleed
Insufficient bleed can cause the booklet to appear unprofessional and unfinished. To avoid this, ensure that all artwork includes a 3mm bleed on all edges. This extra space allows for trimming and folding without compromising the design. Without sufficient bleed, you risk having white edges or cut-off elements, which can detract from the overall appearance of the booklet.
Incorrect Trim and Safety Areas
Incorrect trim and safety areas can cause important design elements to be cut off or compromised during printing. To avoid this, ensure that all artwork includes a clear trim area and safety zone. The trim area is where the booklet will be cut, and the safety zone is an additional margin inside the trim area where no important elements should be placed. This ensures that all design elements are preserved and the booklet appears professional and finished.
Choosing the Right Booklet Size and Cover
Choosing the right booklet size and cover is crucial to ensure that your booklet is effective and professional. Here are some tips to consider:
- Content and Purpose: Consider the content and purpose of the booklet when choosing the size. A larger size may be more suitable for a comprehensive guide, while a smaller size may be more suitable for a promotional booklet.
- Cover Durability: Choose a cover that is durable and suitable for the content. A self-cover booklet, for example, may be more suitable for a budget-friendly option, while a thicker cover may be more suitable for a premium product.
By carefully selecting the size and cover, you can create a booklet that meets your specific needs and stands out to your audience.
Standard Booklet Sizes
Here are some standard booklet sizes to consider:
- A4: 210 x 297mm
- A5: 148 x 210mm
- A6: 105 x 148mm
- DL: 210 x 99mm
- Square: 210 x 210mm
These sizes are widely used and can be easily printed and finished. However, custom sizes can also be used to create a unique and eye-catching booklet. Choosing the right size can enhance the usability and appeal of your booklet, making it more effective in conveying your message.
Paper Stock and Cover Design
Choosing the right paper stock is key to creating a high-quality saddle stitch booklet. The paper’s weight, ranging from 90 to 150 gsm, indicates its density and thickness. For booklets, a weight between 120 to 150 gsm is ideal. It ensures stability and a premium feel in your printed materials.
Choosing the Right Paper Weight and Thickness for Cheap Saddle Stitched Booklet Printing
The paper’s thickness significantly impacts the booklet’s quality and look. A paper thickness of 120 to 150 gsm adds substance. It gives your booklets, brochures, catalogues, and other printed materials a high-quality impression.
Self-Cover vs. Plus Cover
- Self-cover booklets use the same paper for both interior and cover, offering a cohesive look.
- Plus cover booklets, however, use a heavier paper for the cover. This can be in a different finish, like gloss or matte, for a more premium look.
Choosing the right paper stock and cover design boosts your saddle stitched booklet printing projects’ quality, durability, and visual appeal in Australia.
Cheap Saddle Stitched Booklet Printing
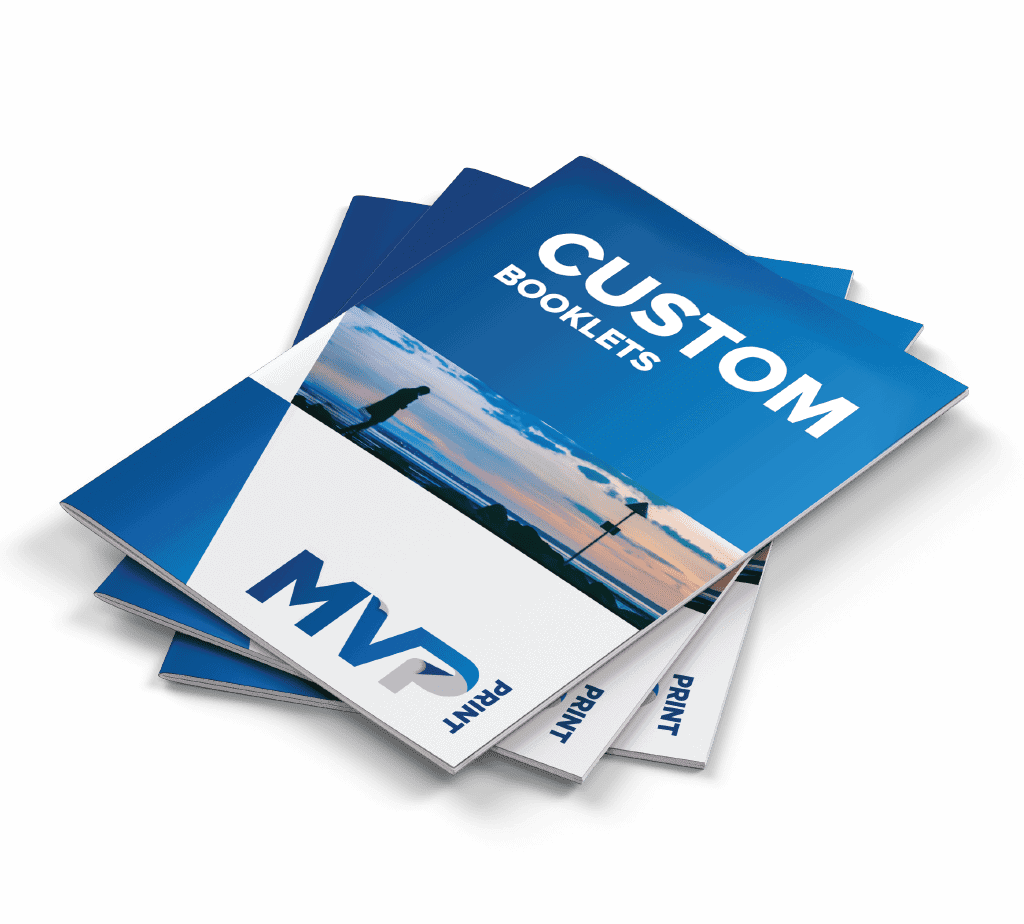
MVP Print stands out for its affordable yet high-quality booklet printing. As a top choice in Australia for saddle stitched booklets, they ensure your materials are both professional and budget-friendly. Their streamlined printing process guarantees your printed items are top-notch and reasonably priced. They emphasize the quality and finishing techniques used to produce high-quality print booklets, ensuring features like the anti-crease square edge spine and prevention of issues like cracking and page creep.
Their team, seasoned in the field, offers personalized support. They help you pick the perfect paper, cover design, and binding. This guidance ensures your booklet meets your precise needs. With state-of-the-art equipment and premium materials, you can get Cheap Saddle Stitched Booklet Printing and your brand’s image will still shine.
Saddle stitched booklets are perfect for various uses, like brochures, business catalogues, and DL booklets. They can handle page counts from 8 to 64, and even up to 200 pages. This flexibility makes saddle stitching a favorite for many print jobs.
At MVP Print, you’ll find great prices and fast delivery across Australia. Their focus on efficiency means your booklets are printed and shipped quickly. With delivery in 3 to 5 business days nationwide, MVP Print ensures your booklets reach you promptly.
Cheap Saddle Stitched Booklet Printing – A Conclusion
Saddle stitched booklets are a versatile and cost-effective option for various print projects. They require careful design, including optimising page counts and selecting the right paper stocks. An engaging cover design is also crucial. This way, businesses and individuals can produce professional-looking, durable materials that impress their customers.
The affordability and efficiency of saddle stitched booklets make them a favourite for small to medium print runs. The lower production costs allow for savings to be passed on to customers. Moreover, their quick turnaround time and suitability for both digital and offset printing make Cheap Saddle Stitched Booklet Printing perfect for projects with tight deadlines.
Despite some misconceptions, saddle stitched booklets can handle a wide range of page counts and paper types. Partnering with a reliable printing company like MVP Print can help you fully utilise these booklets. You’ll create visually appealing, durable, and cost-effective materials that effectively showcase your brand or message.
