Printing children’s books in Australia is a special task. It needs careful planning, especially when it comes to cover design, which is crucial for creating engaging children’s books. You aim for high quality childrens printing, with vibrant illustrations and strong binding. This guide by MVP Print will help you. It covers the necessary steps, like design and choosing print options. It also shows how to get an ISBN for your book. Utilizing the latest technology ensures high-quality prints. With good planning and thinking about every detail, your children’s book will succeed and give you a good return on your investment.
Importance of Planning in Childrens Printing Projects
Starting the print of a children’s book means planning well ahead. This step makes sure your words and pictures are the best they can be. Also, the book’s cover should catch the eye. It should show what the book is about in a lively way. Additionally, choosing the right binding method is crucial for the book’s durability and appearance.
Designing an Eye-catching Cover
The front cover draws a reader in first, so it must be special, with careful attention to specifications such as dimensions, materials, and surface finishes. Pick colours and images that tell your story well. A great cover makes kids curious to open the book.
Equally important is the back cover, which should also have precise dimensions and can include special finishes like lamination, spot UV, foil stamping, and embossing.
Allocating Space for Text and Illustrations
Think about how much room the words and pictures will need on each page. It’s important to get this balance right. Kids’ books are often full of pictures. So, planning the layout is key.
Trim lines define the final dimensions of the finished page and make sure that necessary elements of the images stop at least 10 mm short of the trim line.
Choosing Age-Appropriate Fonts and Colours
The fonts and colours should fit your readers. Go for fonts that are clear and just the right size for kids. Choose colours that are bright and friendly. This makes the book more fun and attractive to young readers.
Incorporating Australian Elements in Childrens Printing Ideas
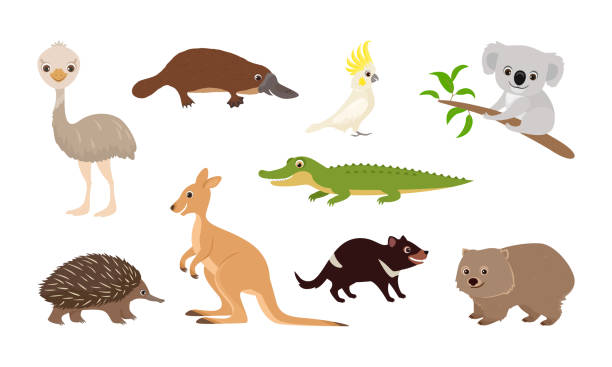
When making children’s books, Australian culture and landscapes can really grab their attention. Use native animals in the story. Set it in the beautiful Australian bush. This will make the story rich and easy for kids to connect with.
Using Australian Animals as Characters
Choosing kookaburras, koalas, echidnas, possums, and kangaroos for your book is smart. These animals are loved in Australia. They have interesting stories to tell. This will make the book very loved by kids, drawing them into the wonders of these amazing animals.
Setting the Story in the Australian Landscape
Australia’s landscapes are some of the most stunning in the world. The bush, the Great Barrier Reef, Uluru, and the Sydney Opera House are iconic. These places make the perfect setting for stories. They add a magical touch, making children want to explore these places in real life.
Preparing Files for Childrens Printing Projects
After designing your children’s book, it’s time to get it ready for print. This is called pre-press. It checks that everything in the book, like text and pictures, is set up correctly. Doing this step well ensures your book will look professional and high-quality.
Additionally, selecting the appropriate paper stock and ensuring high quality for the interior pages is crucial for achieving a polished final product.
Checking Image Resolution
First, you need to make sure your pictures are clear enough for printing. Your images should be at least 300 DPI. Anything less than 300 DPI is too blurry for printing. Making sure your images are clear will make your book look great.
Converting Fonts to Outlines
It’s also important to keep your text looking right. To avoid changes in how your text looks when printed, change the fonts to outlines. This step keeps your text format the same. So, your book’s words will look just as you wanted them to.
Submitting Files in CMYK Colour Model
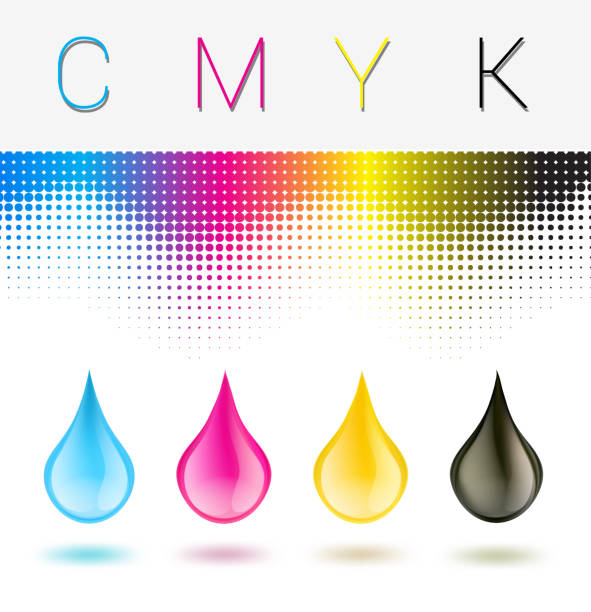
For commercial printing, change your book’s colour to CMYK. CMYK is used for printing on paper, while RGB is for screens. With CMYK colours, what you see on your screen should match the printed book’s colours.
File Preparation Checklist Recommended Settings Image Resolution Minimum 300 DPI/PPI Font Formatting Convert to outlines/paths Colour Mode CMYK File Format Print-ready PDF (PDF/X-1a:2001) Bleed 3mm beyond trim edge Crop Marks Include in exported PDF
By following these tips, your book will be set for printing like a pro. Ensuring your book meets these standards is worth it. It will lead to a top-notch and beautiful final book.
The Printing Process
After finishing the pre-press work, it’s printing time. To print children’s books well, you need the right tools. The printer must be set up just right. This means picking the best paper, colour settings, and more for top-notch prints.
For activity books for kids, uncoated paper is recommended as it provides the perfect surface for crayons and pencils, allowing kids to write on and color in the book’s pages.
Printer Setup and Test Copies
Printing isn’t just about hitting ‘print’. Before the final copies, test prints are crucial. They check that colours and page layouts are perfect. Making adjustments now means the final books will look just right for young readers.
Printing Final Copies
With tests complete and everything set, it’s time for the big print. This step makes your children’s book come to life with vivid colours and a smooth finish. Working with experts ensures your book will impress, making reading it a joy.
Digital vs. Offset Printing
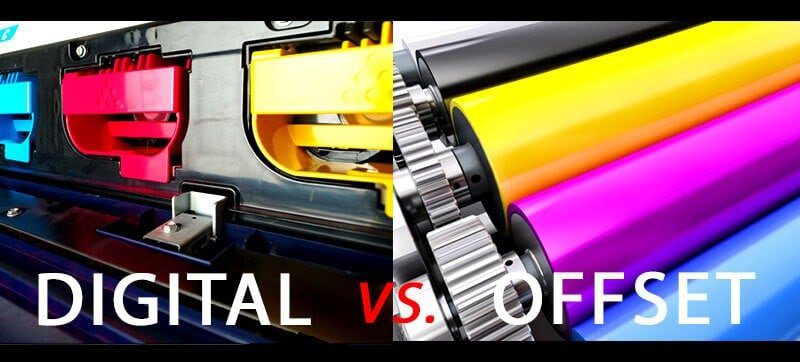
Are you after a quick, budget-friendly option for your kid’s book? Digital printing might just fit the bill. It’s faster and cheaper than offset printing. While it might not offer the same top-notch quality, it’s perfect for short runs. This means you don’t need a big order to get started.
Offset printing is the classic method, using plates and ink to make sharp images. It shines with larger print runs. If you want a top-quality kid’s book that will stand the test of time, this is a great choice.
Digital versus Printing Offset .Digital printing quality is generally lower than offset. Digital printing is more cost-effective for short runs and small to medium print runs, turnaround time is faster with no lengthy setup. Offset printing is more economical for large print runs where the cost per unit decreases with quantity, it has a slower turnaround due to longer setup times.
To choose the right printing method for your children’s book, think about your needs, budget, and the book’s requirements. Knowing the pros and cons of digital printing and offset printing helps you make a smart choice.
Childrens Printing: Binding Options
Once your book is printed, you need to choose a binding method. You have many binding options such as saddle stitching, perfect binding, hardcover binding, self-covered board book binding, hardcover board book binding, and coil binding. The choice depends on your book’s type and your budget.
Saddle Stitch Binding
Saddle stitch binding is very affordable. It uses staples to attach the page edges. It works well for books with up to 32 pages but not over 64. This method is simple yet durable for shorter children’s books.
Perfect Binding
Perfect binding is widely used for children’s books. It glues the book’s spine for a sleek finish. It’s ideal for many book types, including picture and chapter books.
Hardcover and Casebound Binding
Hardcover and casebound binding are very sturdy. They have a solid cover to protect the pages. These bindings are great for high-quality books that kids will use often. They suit educational books as well as storybooks. The inside front cover is glued to the end sheets and the grayboard casing, often laminated for durability.
Choosing the right binding style is crucial for your book. It ensures your children’s book looks good and lasts long. The inside back cover plays a significant role in the overall binding process, including its composition, lamination, and gluing to end sheets.
Shipping and Freight Considerations
After binding your children’s books, you must consider how to ship them. Many printers offer shipping and freight services to make it easier. It’s crucial to think about the weight of your books, where they are going, and any deadlines you have.
Your book’s weight plays a big role in shipping and freight costs. Heavier books cost more to move, so check weight samples. The distance they travel matters too. Shipping books interstate or overseas is pricier.
Your budget is also vital. The shipping and freight costs will directly affect your bottom line. Factor in these expenses to plan your children’s book project well. By planning your shipping and freight costs carefully, you make your printing project more successful.
Getting an ISBN for Your Childrens Printing Project
Once your children’s book is printed and ready, it’s time for an ISBN. An International Standard Book Number is a unique code. It makes it easy for people to find your book in stores or online. You can get an ISBN by registering with a book registry like Thorpe-Bowker or Nielsen. The cost is usually about $44AUD per book. After you register, they will send you an ISBN within 2-3 weeks. Then, you’re all set to publish your book for real.
ISBN Digits ISBNs used to be 10 digits in length before 2007; since then, they consist of 13 digits. ISBN Cost As of 2021, the cost of a single ISBN is $125 in the US. Cost Savings A bundle of 10 ISBNs costs $295 ($29.50 per ISBN) in the US, and a 100-bundle costs $575 ($5.75 per ISBN).
Budgeting for Childrens Printing Projects
When you print children’s books, each part costs money. Things like the design, paper, and how it’s bound affect your budget. Make sure to check with different printers to get the best deal.
Design and Illustration Costs
Design and pictures for a kids’ book can be cheap or expensive. For simple drawings, you might pay only a bit. But, for detailed, colourful illustrations, the price goes up. A cool cover might cost between a bit and a lot, while making the inside look good can add more to the bill.
Printing Costs
Printing kids’ books involves many variables. The cost changes with the size of the book, how many pages it has, and if it’s colour or not. Paperback children’s books usually cost between $3,000-$5,000. Hardcovers are pricier, around $5,000-$10,000. Expect to pay more for colourful prints, but printing many at once can save you money. Picture books, which often have larger-sized board books or saddle-stitched bindings with 12 to 32 pages and full-page artwork, require specific printing requirements and can be more costly due to the need for sewn bindings to enhance durability and attractiveness.
For those self-publishing, there are ways to cut costs. Choose black and white inside pages and paperback instead of hardcover. Stick to common book sizes and keep the designs simple. Crowdfunding can also help with the bill.
Shipping Costs
Don’t forget about shipping. How heavy the books are and how far they need to go will determine the cost. Always get shipping quotes to avoid surprises.
Plan your budget carefully for a successful children’s book. Think about every step. From design to shipping, smart choices can help you get a good return on your investment.
Childrens Printing Projects – A Conclusion
Creating and printing children’s books is fun and creative. There’s a lot to consider, from the design to the final freight. Planning, preparing properly, and choosing the right methods are key. This ensures your children’s books will be successful.
At MVP Print, we help authors with children’s book printing from start to finish. With our expertise, we work closely with you. We help you create a creative vision. In the end, we deliver a high-quality, engaging book that families will cherish.
If you’re ready to create, print, or publish your children’s books, we’re here for you. Let’s work together to turn your creativity into a masterpiece. It will captivate young readers and create memories for families around Australia.
